
Avata 2 for Low-Light Wildlife Inspection
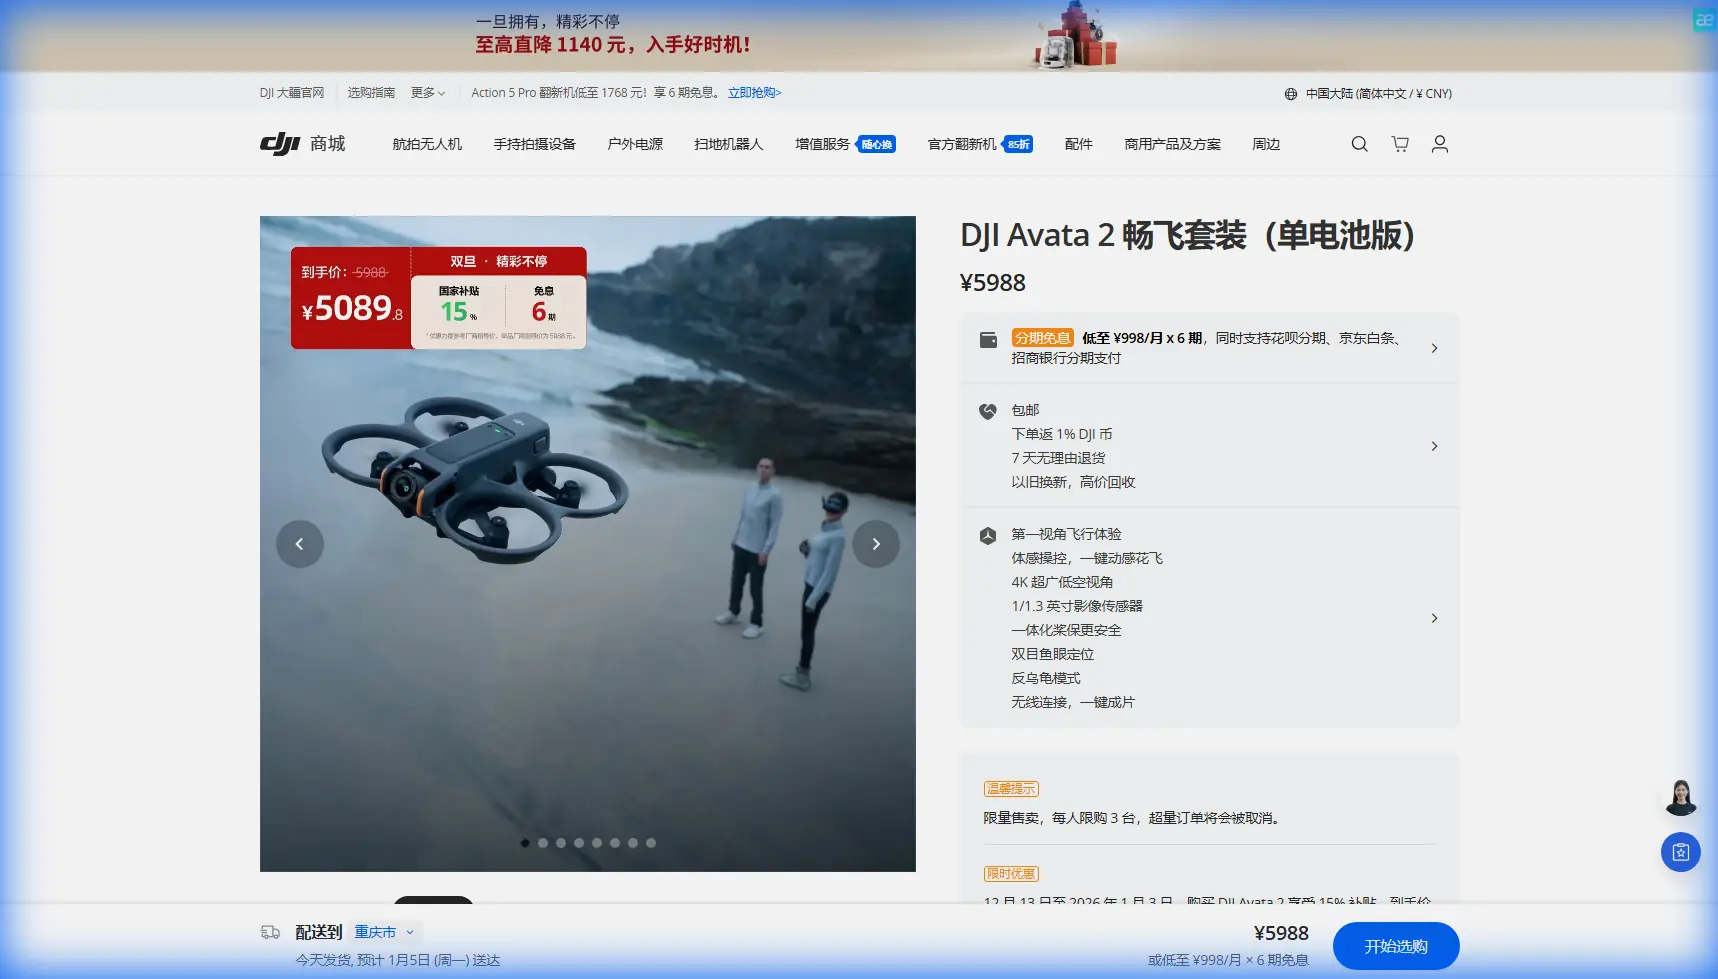
Avata 2 for Low-Light Wildlife Inspection: Flight Planning Tips That Matter More Than Camera Specs
META: Practical Avata 2 wildlife inspection tutorial covering low-light flight planning, overlap, speed control, obstacle avoidance, and how photogrammetry-style route design improves usable results.
The Avata 2 gets talked about like a fun FPV drone. In the field, that misses the point.
For low-light wildlife inspection, especially around wetlands, tree lines, ravines, and uneven terrain, the real challenge is not simply seeing animals in dim conditions. It is collecting footage and positional context that remains usable after the flight. A beautiful pass means very little if motion blur ruins identification, if route spacing leaves blind zones, or if the aircraft enters a cluttered area with no clean margin for recovery.
That is where the reference material behind traditional aerial survey planning becomes surprisingly useful for Avata 2 operators. Not because you are trying to turn an FPV platform into a full mapping aircraft, but because the logic of route architecture, overlap, and speed discipline directly improves inspection reliability.
I learned this the hard way during a dusk wildlife check near a reed-filled marsh edge. We were trying to verify movement patterns of small mammals and nesting birds without pushing too close to the habitat. The Avata 2 slipped between dark vegetation corridors well enough, but the first route plan was too casual: one forward pass, one return pass, lots of confidence, not much structure. Review the footage later and the problems showed up immediately. Fast yaw corrections. Gaps near the transition between open water and brush. A few low-light frames that looked acceptable on the goggles but were too soft for careful review.
On the second session, we changed the route design using principles borrowed from aerial photogrammetry. The result was not dramatic in the cinematic sense. It was simply better. More consistent. More inspectable. That is what matters.
Why low-light wildlife inspection is different on Avata 2
Avata 2 is appealing for wildlife work because it can move carefully through environments that are awkward for larger inspection drones. It is compact, agile, and better suited to close-proximity route control around vegetation, embankments, and narrow access corridors. In low light, though, every weakness in mission planning gets amplified.
Three things become less forgiving after sunset or under heavy canopy:
- image motion from excessive ground speed
- route gaps caused by informal flight lines
- obstacle risk during transitions, especially near uneven terrain
That is why the old survey rule about image displacement is still useful. The source material states that image-point displacement at exposure should generally not exceed 1 pixel, with a maximum of 1.5 pixels. It even gives the logic for calculating an upper speed limit when exposure time and ground resolution are known. For wildlife inspection on Avata 2, the takeaway is simple: if low light forces slower shutter behavior, your safe inspection speed must come down with it.
This is not abstract theory. It determines whether fur texture, wing posture, nest edge disturbance, or hoof prints at a waterline remain readable in recorded footage.
Treat inspection lines like “framework routes,” not casual passes
The strongest idea in the source material is the value of adding structured framework flight lines. In photogrammetry, these lines improve block adjustment accuracy, especially elevation accuracy, and can reduce the number of ground control points by about 50%. You are probably not building a survey-grade control network with Avata 2 during wildlife work. Still, the operational lesson is powerful: carefully placed cross-structure lines improve confidence in what you are seeing.
For wildlife inspection, that means your mission should not rely on a single linear scan. Build a route with two layers:
- Primary observation lines that follow the habitat edge, drainage path, tree corridor, or fence line.
- Cross-check lines that cut across those observation routes at selected intervals.
Why this matters:
- Cross-check lines reveal whether movement seen on one pass was actually animal behavior, wind-driven vegetation, or perspective distortion.
- They improve spatial understanding of burrows, nesting zones, and shoreline depressions.
- They reduce the “I saw something, but I can’t place it accurately” problem that often happens in dim, high-texture environments.
The reference also notes that when framework lines increase to 5 lines, elevation improvement reaches its strongest practical benefit; beyond that, gains continue but become marginal compared with the extra workload. That translates nicely to Avata 2 inspection planning. If you are checking a medium-sized habitat section, adding a handful of deliberately chosen cross-lines often gives most of the value. Beyond that, battery time and review time rise faster than useful insight.
For many wildlife sites, three to five cross-check lines is the sweet spot.
Overlap is not just for mapping
Another specific number from the source deserves more attention: framework routes should maintain at least 80% forward overlap, ensuring normal stereo overlap between alternating images.
Even if your output is inspection video rather than a formal stereo model, the concept still matters. In low-light wildlife work, heavy overlap creates continuity. Continuity gives you options during review.
On Avata 2, you can think of this in practical terms:
- Fly slower than feels necessary.
- Hold a stable line longer than feels cinematic.
- Avoid abrupt pitch and yaw adjustments near your observation zone.
- Capture repeated visual coverage from slightly shifted positions.
This overlap-style discipline helps when an animal briefly emerges from cover, pauses, and disappears again. If the footage sequence is dense and stable, you have a much better chance of identifying the moment, comparing adjacent frames, and confirming whether the subject was real wildlife, another species, or just a visual false positive in low light.
It also improves the usefulness of tracking features. ActiveTrack and subject-following tools can be helpful in open areas, but around brush and partial occlusion, manual control supported by overlap-minded route planning is often safer and more reliable. Tracking can lose a small subject in dark clutter. A well-designed observation line does not.
The 25% scale rule has a smart Avata 2 equivalent
The source says framework routes should use a photographic scale about 25% larger than the main mapping flight direction, with an example of shifting from 1:500 to roughly 1:375. The deeper meaning is not the ratio itself. It is that your supplemental route should gather finer detail than the base coverage.
For Avata 2 wildlife inspection, your equivalent move is this:
- Start with a broader contextual pass that defines habitat structure, access routes, water edges, tree density, and obstacle zones.
- Then fly your cross-check or verification lines a little closer or lower, with more deliberate framing and slower speed.
That second layer acts like the larger-scale framework route in the source. It is not replacing the main pass. It sharpens it.
This is especially useful when inspecting:
- den entrances under roots
- bird activity near reeds or low branches
- track clusters near muddy margins
- wildlife crossings at fence gaps
- nighttime roost perimeters where shape and spacing matter more than dramatic imagery
If you skip that second, slightly tighter layer, you often end up with footage that shows “something happened here” but not enough detail to support a confident reading.
Boundary coverage matters more than most pilots think
The source also points out that lateral coverage should extend beyond the area boundary by at least 50% of the image format, and in workable conditions not less than 30%; in actual operations this often means extending by an extra flight line. That advice comes from survey standards, but it fits wildlife work beautifully.
Animals do not respect your planned box.
If you define a wetland edge, a meadow strip, or a wooded gully as your inspection area, the most interesting activity often happens just outside the formal boundary. Entry points, escape paths, and buffer zones are where behavior becomes legible. So when flying Avata 2 in low light, do not stop exactly at the edge of your target zone. Add one extra perimeter pass.
Operationally, that extra margin helps in two ways:
- You catch movement that originates outside your initial area of interest.
- You give yourself safer room for turns, speed changes, and obstacle reassessment before re-entering the core zone.
This is especially relevant if you are using obstacle avoidance in cluttered environments. The transition into and out of a line is often riskier than the line itself.
Mountain, ravine, and canopy work: the climb problem is real
One of the most practical details in the source is not about image geometry at all. It explains that mountain operations are difficult not merely because of takeoff and landing, but because of climb space and signal transmission. That is dead on.
Avata 2 may be smaller and more flexible than many aircraft, but low-light wildlife inspection in broken terrain still punishes poor entry planning. If you launch from a low pocket surrounded by rising ground or canopy, you can create your own trap. The source describes this well: like trying to fly out of a well, where surrounding height steals climb options.
For Avata 2 operators, that means:
- choose a launch point with clear vertical and lateral escape space
- avoid entering a dark corridor before confirming signal quality and aircraft behavior
- add a short pre-line waypoint segment where you observe stability before committing to the inspection run
- keep turns within a comfortable radius instead of forcing sharp corrections in tight terrain
That pre-line observation segment echoes the source recommendation to add waypoints before entering the route, partly to monitor aircraft condition and avoid excessive climb rate or turns beyond aircraft capability. In wildlife inspection, this is not bureaucratic mission design. It is how you prevent a rushed correction near branches, rock faces, or utility-free but still unforgiving terrain.
A real low-light scenario: deer at the tree line
One of the better Avata 2 wildlife sessions I have seen involved a deer movement check along a forest-field boundary just after sunset. The original goal was simple: confirm whether the same crossing point was being used repeatedly and whether fresh ground disturbance extended into the scrub behind it.
The first broad pass showed movement but not enough context. So the pilot reworked the mission with a structure that mirrored the reference logic:
- one main line parallel to the tree line
- several shorter cross-lines through the likely crossing zone
- slower speed on the closer verification passes
- extra margin beyond the visible crossing edge instead of ending at the obvious path
On one of those cross-lines, the Avata 2’s sensing and careful routing helped it navigate past a protruding branch cluster that was nearly invisible against the dark background in the goggles. More importantly, the resulting footage made the crossing pattern readable. The hoof-disturbed strip was visible from one angle, but from the cross-line it became clear there were actually two adjacent paths: one active, one older and partially overgrown.
That is exactly the kind of result good route structure creates. Not prettier footage. Clearer interpretation.
What to use on Avata 2, and what to use carefully
The reader scenario here is inspection, not pure content creation, so every feature should earn its place.
Obstacle avoidance
Useful, especially in low light near trunks, reeds, and broken edges. But do not treat it as permission to improvise deep in clutter. It is a safety layer, not a route-planning substitute.
ActiveTrack or subject tracking
Helpful when an animal is already visible in an open area and you need continuity. Less dependable in partial cover, small-subject scenes, or when the background is dark and busy. For many habitat inspections, planned passes are still more trustworthy.
D-Log
Worth using if you expect heavy tonal compression in shadows and highlights and need more flexibility in post review. For inspection teams who compare subtle texture or movement, preserving tonal information can matter more than making the image look finished straight out of camera.
QuickShots and Hyperlapse
Usually secondary here. They can help document broader site context or seasonal habitat change, but they are not core tools for close wildlife verification. Use them for environmental storytelling, not primary evidence gathering.
If you are trying to refine a mission plan for sensitive habitat work, it can help to compare route sketches and footage examples with an experienced operator first. I usually recommend sending the site outline and your intended flight direction through this WhatsApp planning channel before the first field attempt if the area has tight terrain or complicated vegetation.
A practical Avata 2 workflow for low-light wildlife inspection
Here is the process I would actually use:
1. Start wide
Fly a contextual pass that shows terrain shape, vegetation bands, water edges, and access constraints.
2. Mark likely activity corridors
Tree-line breaks, mud margins, fence gaps, reed openings, burrow shadows, or repeated surface disturbance.
3. Add 3 to 5 cross-check lines
This echoes the source finding that around five framework lines often delivers most of the practical gain before workload starts rising faster than benefit.
4. Slow down for verification passes
Respect the image-displacement principle. If the light is falling, reduce speed before blur makes details unusable.
5. Build overlap by discipline, not by accident
Hold steady lines. Repeat coverage with small positional variation. Do not rely on a single pass.
6. Extend beyond the target boundary
Give yourself at least one extra margin line so behavior outside the obvious area is not missed.
7. Review for interpretation, not just appearance
Ask whether the footage explains the animal’s position, movement route, and habitat relationship—not merely whether it looks clean.
The bigger lesson
The most useful insight from the reference data is not a specific survey formula. It is the mindset behind it.
Better aerial inspection comes from structure.
For Avata 2 wildlife work in low light, that means resisting the urge to fly by instinct alone. Use route architecture. Use overlap. Use supplementary cross-lines. Control speed when shutter conditions worsen. Give yourself spatial margins at the boundary. Pick launch positions that preserve climb and signal options.
Those choices are not glamorous. They are the reason a wildlife inspection flight becomes something you can trust later, when the drone is packed away and the real work starts on the screen.
Ready for your own Avata 2? Contact our team for expert consultation.