
Scouting Vineyards in Complex Terrain with Avata 2
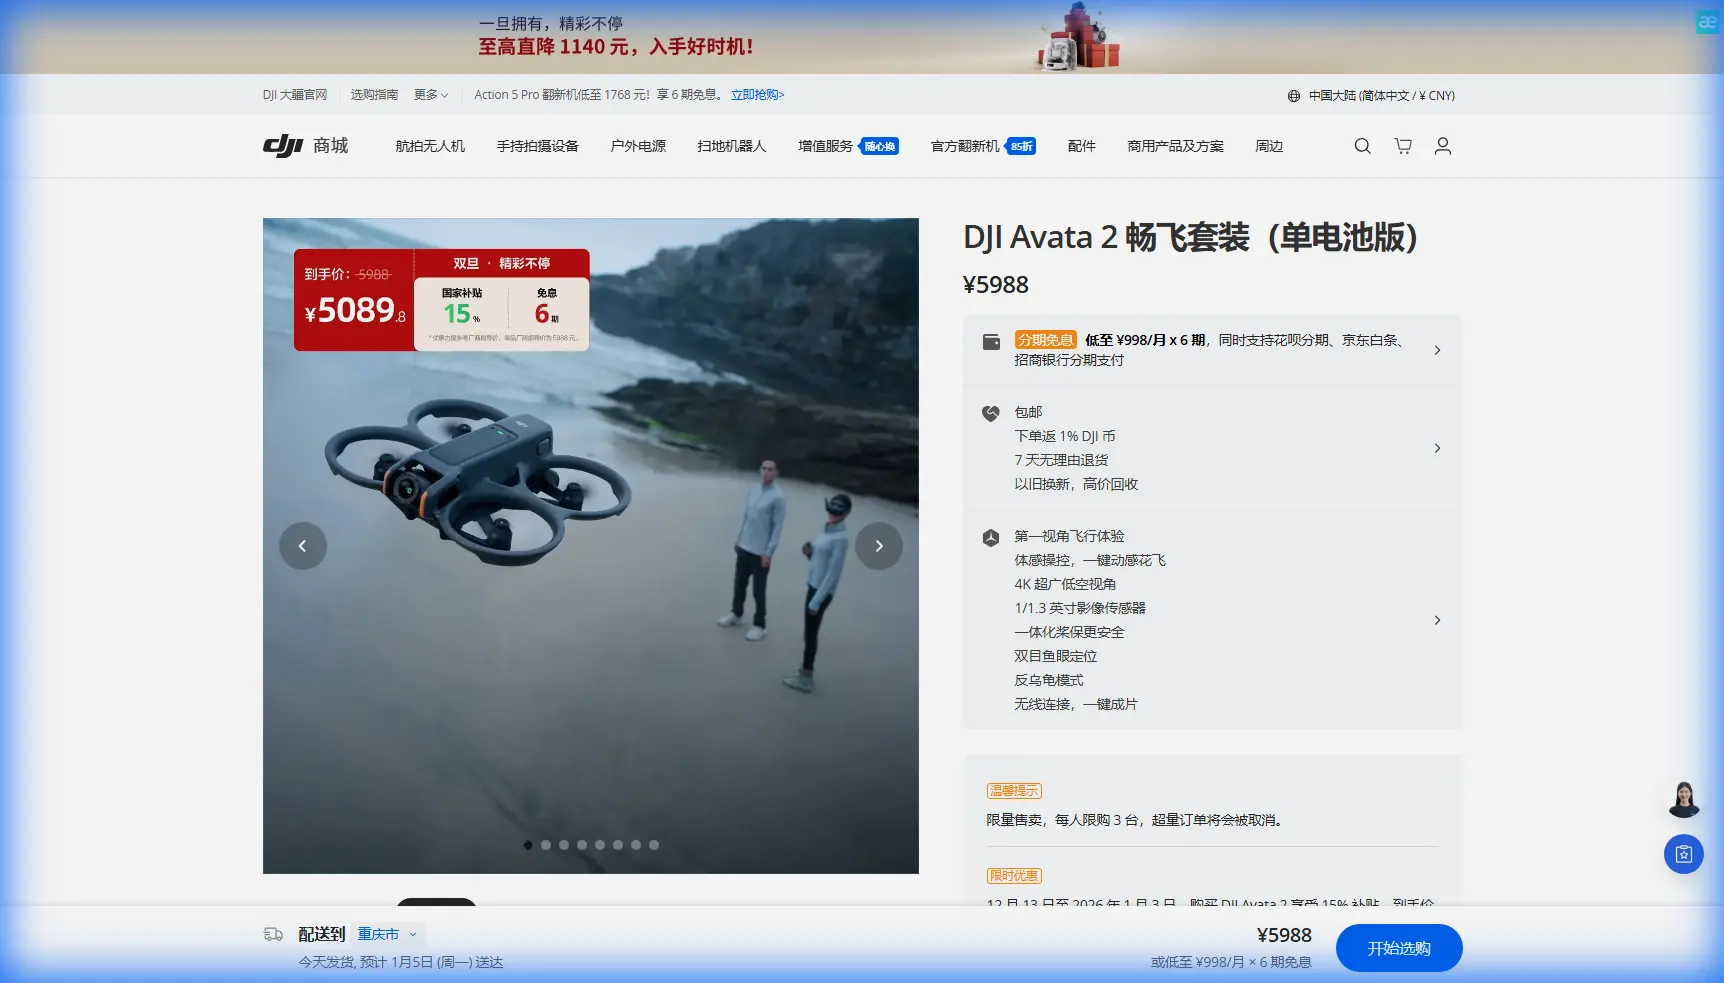
Scouting Vineyards in Complex Terrain with Avata 2: A Practical Field Method
META: Learn how to use DJI Avata 2 for vineyard scouting in steep, irregular terrain, with practical tips on obstacle avoidance, ActiveTrack, D-Log capture, EMI handling, and flight planning informed by low-altitude photogrammetry standards.
Vineyards rarely give a pilot an easy day.
Rows bend with the hillside. Trellis wires catch the light and disappear. Tree lines, service roads, poles, irrigation hardware, and tight turning spaces create a flight environment that punishes sloppy setup. If you are using Avata 2 to scout vines in complex terrain, the aircraft’s appeal is obvious: compact size, immersive situational awareness, and the ability to move low and close where larger platforms feel clumsy. But getting useful results from it is less about flashy flying and more about disciplined field method.
That field method gets sharper when you look beyond consumer drone habits and borrow a little thinking from low-altitude aerial photogrammetry. One reference that still matters here is the Chinese standard CH/Z 3004-2010, specifically the equipment table excerpt listing full-frame and APS-C cameras such as the Canon EOS 5D and Canon 450D, with focal lengths including 14 mm, 20 mm, 24 mm, and 35 mm, alongside example operating heights like H=1471 m, H=1094 m, and 923 m. Avata 2 is not a survey aircraft in the strict standard-driven sense, and a vineyard scout is not building a classic photogrammetric block with DSLR bodies strapped under an airframe. Still, those numbers teach something operationally useful: image geometry, altitude, and lens choice always define what you can interpret from the data later.
That’s the real story with Avata 2 in vineyards. The aircraft is agile, but the mission succeeds or fails on whether you match your flight profile to the visual problem you are trying to solve.
Start with the right scouting objective
Before batteries go into the aircraft, decide what “scouting” means for that flight.
In vineyards, I usually split missions into three categories:
Canopy condition review
Looking for vigor differences, gaps, storm damage, water stress indicators, uneven growth, and row-to-row inconsistency.Terrain and access review
Checking slopes, turnarounds, washouts, erosion, tractor access routes, and edge conditions around terraces.Presentation footage with agronomic value
Capturing clips that are visually clean enough for owners, managers, or consultants while still preserving useful detail.
Avata 2 can do all three, but not from one single flight style. If you try to solve everything in one battery, you usually end up with beautiful but operationally shallow footage.
The old photogrammetry mindset helps here. In the standard excerpt, different camera and lens combinations are tied to different flight heights. That relationship exists for a reason: wider lenses and lower passes emphasize context and terrain shape; longer effective looks or higher viewpoints support broader coverage. Translating that to Avata 2 work in vineyards means this:
- Low, close passes are best for inspecting trellis condition, vine gaps, and localized canopy anomalies.
- Slightly higher, slower traverses are better for reading row continuity, drainage behavior, and slope transitions across blocks.
- Orbit or reveal shots can show managers how topography and planting geometry interact, which is often more useful than a static overhead.
Why lens and altitude logic still matters with Avata 2
The standard’s camera table may seem far removed from an FPV-style aircraft, but the principle is timeless. It includes focal lengths such as 14 mm and 20 mm, and that matters because wider optics exaggerate depth and spacing while changing how terrain reads in the image. In steep vineyard parcels, that visual effect can either help you or mislead you.
Operationally, here is what that means.
When you fly Avata 2 too low with a wide-looking perspective and fast forward motion, missing vines or weak sections can appear more dramatic than they are because perspective exaggerates near-field variation. On the other hand, if you climb too high trying to “see everything,” you flatten the row structure and lose the small clues that actually matter in vineyard management.
The photogrammetry reference also lists example heights such as 923 m, 1094 m, and 1471 m. Those are not practical flight heights for a vineyard scouting run with Avata 2, but they illustrate a critical rule: flight height is not arbitrary. It is selected to produce a specific scale relationship between the subject and the sensor. For Avata 2 pilots, the takeaway is simple: choose height based on the management question, not on what feels cinematic.
A few practical examples:
- If you are looking for post damage, missing end assemblies, or local canopy gaps, stay lower and fly slower.
- If you need to understand how a block sits against drainage channels or contour lines, back off and gain enough height to show landform.
- If the purpose is comparing one row section against another, maintain a consistent height and camera angle through the sequence so the footage supports fair visual comparison.
Consistency beats improvisation.
A proven Avata 2 flight pattern for vineyards
For complex terrain, I use a three-pass sequence.
Pass 1: High orientation run
This is the map in your head. Fly above the row tops with enough margin to identify hazards: utility lines, windbreaks, netting, poles, tall equipment, and tree encroachment. Keep the speed moderate. The point is not drama. The point is building a mental model of the parcel.
This is also where obstacle avoidance earns its keep. Vineyard edges are messy. The obvious hazards are not always the dangerous ones. A dead branch overhanging a turn, a support cable near an equipment shed, or a line of trellis posts on a blind slope transition can end a flight fast. Avata 2’s obstacle awareness can reduce workload, but don’t treat it as permission to fly carelessly through wire-rich environments. Trellis wires are thin, repetitive, and visually deceptive.
Pass 2: Row-follow scouting run
Now choose one or two representative rows and fly along them with deliberate pace. Keep your framing stable enough to compare canopy density from one panel to the next. This is where subject tracking and ActiveTrack can be useful, especially if you want to follow a utility vehicle, worker path, or tractor movement through the block to assess access conditions and turning behavior. Used carefully, tracking helps you stay focused on the larger scene structure rather than micro-correcting every second.
But in vineyards, I use tracking conservatively. Rows produce strong repeating patterns. If the tracked subject passes behind foliage, posts, or terrain folds, you need to be ready to take over instantly.
Pass 3: Cross-slope verification run
This is the pass many pilots skip, and it is often the one that explains the most. Instead of following the rows, cross them at a safe altitude to show how the block sits on the hillside. This reveals terrace relationships, runoff channels, low spots, and changes in vigor distribution that are harder to understand from row-parallel footage alone.
If the parcel is dramatic enough, a Hyperlapse sequence from a fixed lateral position can make sun-angle changes and shadow behavior more legible, particularly for steep slopes where morning and afternoon light create very different canopy visibility.
Handling electromagnetic interference in the field
Complex vineyard sites often include hidden RF problems. Pump stations, solar-powered monitoring systems, nearby communication equipment, buried power infrastructure, metal sheds, and vehicles parked close to takeoff can all complicate the signal environment. You mentioned antenna adjustment, and that’s not a minor detail. It’s one of those field habits that separates smooth sorties from preventable headaches.
When Avata 2 starts showing unstable link behavior or inconsistent control confidence in a vineyard, I work through this sequence:
1. Move the takeoff point
Do not launch from right beside a metal building, vehicle roof, equipment trailer, or dense power installation if you can avoid it. A short relocation often clears up noise and multipath reflections.
2. Reassess your body position and antenna orientation
Pilots sometimes blame the site when the real issue is how they are standing. In hilly terrain, your own position can block or weaken the link as the aircraft dips behind a slope shoulder or row crest. Adjust your stance so the aircraft stays in a clearer signal corridor, then fine-tune antenna direction for the expected flight path rather than the launch point alone.
3. Avoid burying the aircraft behind terrain
This is common in terraced vineyards. Everything feels fine until the aircraft drops over the edge of a contour and the signal path degrades. Antenna adjustment helps, but line-of-sight discipline matters more.
4. Test with a short low-risk pass
Do a brief link confidence check before committing to the main run. If the telemetry feels unstable in the first minute, solve it then. Don’t assume it will improve once you get deeper into the block.
If you regularly fly mixed-elevation vineyard sites and want a practical preflight checklist for antenna setup and launch positioning, I’d rather share the exact field version than bury it in theory—message me here for the checklist: https://wa.me/85255379740
The operational significance is straightforward: electromagnetic interference does not just threaten signal quality. It also steals attention. The moment you start second-guessing the link, your visual scanning drops, and that is when wires, branches, and slope changes become a problem.
Use D-Log when the vineyard lighting is ugly
Vineyards produce brutal contrast. Bright sky, reflective leaves, dark understory, and sun-struck soil often exceed what standard color capture handles gracefully. This is where D-Log becomes more than a creative feature.
For scouting, D-Log helps preserve highlight and shadow information so that you can review footage later without losing subtle canopy texture in either direction. If one section of the block is in harsh sun while another sits under partial ridge shadow, D-Log gives you more room to normalize the footage for comparison.
That matters because vineyard decisions are often made from small visual cues:
- one section yellowing earlier than the next,
- uneven growth along a drainage line,
- a patch of reduced leaf mass near a row end,
- stress patterns that only become obvious when exposure is balanced properly.
If your footage is clipped or crushed, those clues get buried.
I also like pairing D-Log capture with slower, more repeatable runs rather than aggressive freestyle-style motion. The goal is readable imagery, not spectacle.
QuickShots and cinematic features: useful, if you stay disciplined
A lot of pilots dismiss QuickShots as purely casual tools. In vineyard work, that’s too simplistic.
A well-placed automated reveal or orbit can show a grower how a block sits within surrounding terrain, road access, neighboring wind exposure, or drainage context. That kind of perspective can be valuable in meetings, reports, and planning discussions. The key is using automation only where obstacles are well understood and the flight path is clean.
The danger in vine country is assuming the automation “sees” the same environment you do. It doesn’t interpret agronomic context. It only follows its programmed behavior within the limits of its sensing and navigation.
So yes, use QuickShots. Just use them after your manual scouting passes, not instead of them.
What Avata 2 does especially well in vineyards
Avata 2 is most effective when the site has one or more of these traits:
- steep or irregular terrain where larger drones feel cumbersome,
- narrow access lanes and limited takeoff space,
- a need for close visual reading of rows and structures,
- a desire to combine inspection-style observation with presentation-ready footage,
- repeated short missions across changing parcels.
Its compactness also encourages better opportunistic scouting. If a manager wants a fast look at a washout, a difficult terrace corner, or an irregular patch near the edge of a block, Avata 2 is easy to deploy without turning the operation into a full survey event.
That said, this aircraft is strongest as a visual scouting tool, not as a substitute for formal measurement workflows. The photogrammetry standard reference reminds us why. Standardized camera systems, focal lengths, and planned heights exist to control geometry and repeatability. Avata 2 can support informed vineyard decisions brilliantly, but only if the pilot respects the difference between a scouting flight and a mapping mission.
A practical field checklist before every vineyard run
Here’s the condensed version I actually follow:
- Define the question: canopy, access, terrain, or presentation.
- Walk the launch area and identify wires, poles, and reflective metal surfaces.
- Choose a takeoff point with clean signal geometry.
- Align your body position and antenna direction with the main route.
- Fly a short orientation pass first.
- Use lower, slower row runs for detail.
- Add a cross-slope pass to understand terrain effects.
- Capture in D-Log when contrast is high.
- Treat obstacle avoidance as support, not permission.
- Use ActiveTrack and QuickShots only after the site is visually understood.
That sequence produces better outcomes than simply flying by feel.
The deeper lesson from the old low-altitude photogrammetry table is that aircraft capability alone never guarantees useful aerial information. The equipment listed there—Canon EOS 5D, Canon 450D, and focal lengths like 20 mm and 35 mm—reflects intentional matching of optics to mission geometry. For vineyard scouting with Avata 2, the same discipline applies in a modern form. You are still balancing perspective, height, speed, and image readability against the terrain in front of you.
Do that well, and Avata 2 becomes more than a fun aircraft to fly through the rows. It becomes a precise observational tool for one of the most visually complex agricultural environments you can work in.
Ready for your own Avata 2? Contact our team for expert consultation.