
Avata 2 for Mountain Coastline Survey Work
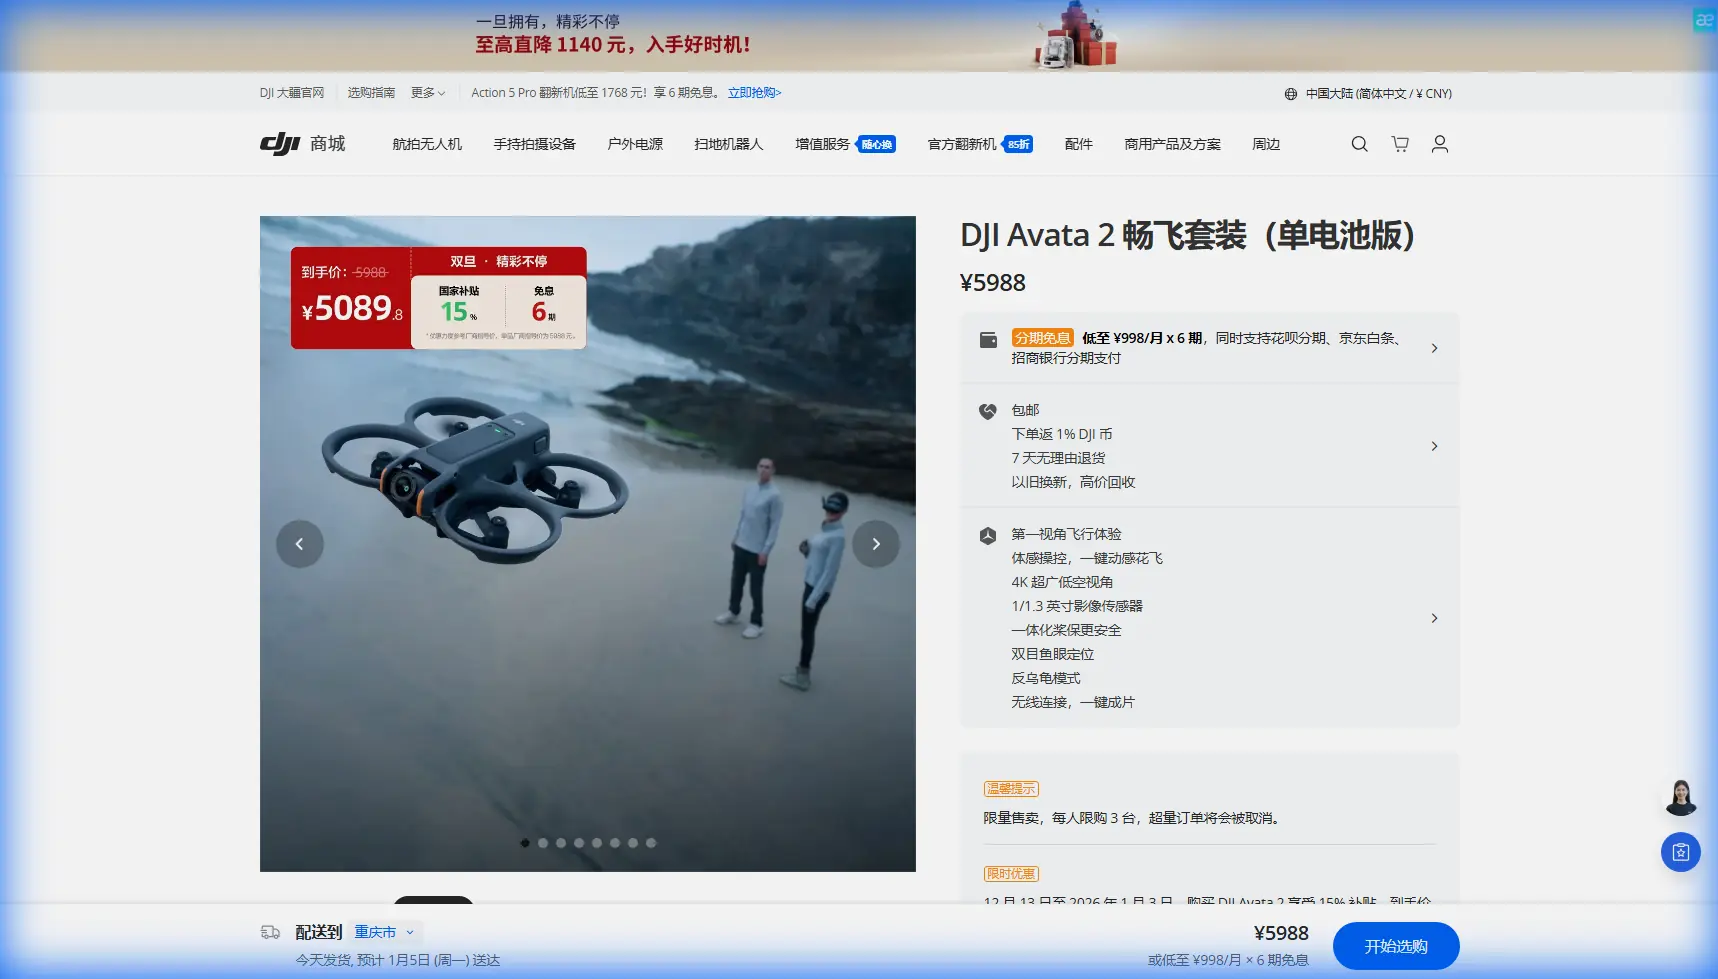
Avata 2 for Mountain Coastline Survey Work: A Practical Field Guide from a Photographer’s Perspective
META: A field-tested guide to using Avata 2 around mountainous coastlines, with survey workflow insights, accuracy context, battery tips, terrain challenges, and data delivery discipline.
Mountain coastlines punish lazy planning.
You get shifting wind, hard contrast off the water, abrupt elevation changes, narrow launch areas, and terrain that can break signal discipline if you fly as though you’re working over a flat farm parcel. That is exactly why the most useful way to think about the DJI Avata 2 is not as a generic FPV camera drone, but as a close-range visual tool inside a larger survey workflow.
I’m writing this from the perspective of someone who thinks in images first and field reliability second, because on a mountain-coast job those two concerns are inseparable. If you’re using Avata 2 to support shoreline inspection, training, visual documentation, or supplementary low-altitude capture for survey teams, the real question is not whether it can fly there. It can. The real question is how to use it without creating weak data, wasted batteries, or gaps in coverage.
The answer starts with respecting what professional aerial mapping documents have been emphasizing for years: quality is defined long before post-processing begins.
Why mountain coastline work is harder than it looks
Coastlines in mountain areas compress several difficult environments into one mission. The sea reflects harsh light. Cliffs create elevation discontinuities. Vegetation can hide terrain edges. Wind behaves differently at ridge level than it does near the shore. You may launch in calm air and hit turbulence the moment you round a rock face.
That matters because even when Avata 2 is not your primary cadastral mapping platform, it often supports teams that still have to meet strict positional and image-delivery standards. In one rural aerial surveying design reference, point spacing for control work is set at at least 100 meters, with point position error limited to 50 mm and relative error to 1/4000 under RTK-based methods. Those numbers are not there for decoration. They remind you that the downstream value of imagery depends on disciplined field structure.
If your coastline mission is meant to help a surveyor interpret retaining walls, access tracks, erosion lines, rocky outcrops, drainage cuts, or property-edge context in steep terrain, your Avata 2 footage should be captured in a way that complements measurable work rather than fighting it.
Where Avata 2 actually fits in a survey-adjacent mission
Let’s be clear: Avata 2 is not the aircraft I would select as the primary platform for formal 1:500 rural cadastral production. The reference material points to a heavier photogrammetric setup with a 48-megapixel payload, 20 mm focal length, GPS fixed-point exposure, synchronized event recording, and output expectations such as true orthophoto index images delivered as JPG at no less than 300 DPI and equipment verification reports scanned to PDF at no less than 300 DPI.
That kind of specification tells you what formal production environments care about: repeatability, calibrated hardware, and traceable deliverables.
So where does Avata 2 shine?
In the gaps.
It is especially useful for:
- low-altitude visual reconnaissance before a larger survey sortie
- documenting inaccessible cliff edges and shoreline structures
- capturing context around obscured terrain breaks
- training pilots to understand route hazards in mountainous littoral zones
- collecting supplementary video and stills that help explain terrain relationships to clients, planners, or land teams
Operationally, that means Avata 2 is strongest when you use it as a precision observation aircraft, not as a replacement for a dedicated mapping rig.
The pre-flight method I use on steep coastal terrain
When I’m preparing for a mountain coastline mission, I break the job into three layers.
1. Visual objective
Decide what the aircraft must reveal.
Not “get some nice footage.” That’s useless. Instead:
- identify erosion undercuts
- document the transition from slope to shoreline
- inspect access tracks carved into hillsides
- record seawall condition
- capture oblique views of structures hidden from nadir perspectives
This is where Avata 2’s agile flight character helps. In terrain with abrupt relief, an oblique perspective often explains the site better than a top-down frame ever could.
2. Survey relationship
Ask how the footage will support measured work.
The source reference includes strict tolerances for terrain and mapping outputs, including elevation accuracy targets such as 0.4 m for spot elevations and 0.5 m for contours in flat and hilly areas. Even if Avata 2 is not generating those official outputs, your footage should make life easier for the people who do.
That means flying paths that clearly show control-point surroundings, slope transitions, drainage logic, and line-of-sight barriers. If there’s a GNSS crew running RTK nearby, don’t think of your aircraft as a separate department. Think of it as a visual extension of their field notes.
3. Environmental constraint
This is the mountain-coast reality check:
- wind at launch point may not match wind over the water
- reflected glare can hide rocks and ledges
- radio geometry changes fast when cliffs block angles
- vertical ascents can consume battery faster than expected
- return paths are often more expensive than outbound paths
This last point is the one many new operators learn too late.
My field battery rule for Avata 2 near cliffs
Here’s the practical tip I wish more pilots heard before their first serious coastline mission:
Don’t plan battery around flight time. Plan it around elevation recovery and headwind reserve.
On paper, battery confidence is easy. In the field, it falls apart when you spend the first half of a pack dropping along a coastal face because descent feels efficient, then realize the return requires climbing back through gusting air over uneven terrain.
My rule is simple. If I descend aggressively along a cliff line, I mentally “spend” more battery than the display suggests. I keep a reserve specifically for three things:
- climbing back to a safe transit height
- correcting for crosswind drift near rock faces
- abandoning the shot and returning on the cleanest line possible
On mountain coastlines, a battery is not half full just because the percentage says so. If your safe path home requires height gain, your true reserve is lower than it looks.
That mindset matters far more than squeezing an extra minute out of a pack.
How Avata 2 features help in this environment
People often discuss features like obstacle avoidance, ActiveTrack, QuickShots, Hyperlapse, and D-Log as if they are lifestyle extras. Along a mountainous shoreline, some of them become mission tools, while others should be used carefully.
Obstacle avoidance
This is useful, but only if you respect its limits.
Rock faces, scrub, irregular ledges, and sudden contrast changes can create visual complexity that demands conservative flight anyway. Obstacle sensing is a support layer, not permission to press closer. Around cliff bands and shoreline structures, I still build in manual spacing because terrain funnels wind unpredictably.
Operational significance: obstacle systems reduce workload during low-altitude inspection passes, but they do not solve for gusts or lateral drift near hard surfaces.
ActiveTrack and subject tracking
For pure survey support, I use these sparingly. But they can help when documenting moving marine maintenance crews, shoreline access routes, or training exercises where the purpose is to show movement through terrain rather than to produce map-grade geometry.
Operational significance: tracking features are best treated as documentation aids, not measurement tools.
QuickShots and Hyperlapse
These are not usually my first choice for survey-adjacent work, but they can help create visual summaries for stakeholders who need to understand topography fast. A compressed Hyperlapse along a coastline can reveal exposure, slope continuity, and access difficulty in a way static imagery sometimes cannot.
Operational significance: strong for communication, weak as primary technical evidence.
D-Log
This one matters more than many people realize.
Mountain coastlines regularly create brutal dynamic range: dark cliff vegetation, pale surf, reflective water, and haze all in one frame. D-Log gives you more room to recover detail, especially when the end user needs to inspect shadowed retaining features or subtle erosion patterns without the image breaking apart in grading.
Operational significance: better tonal retention means more usable interpretive imagery for engineers, planners, and site teams.
A workable capture routine for coastline jobs
If I were deploying Avata 2 to support a survey team in steep coastal terrain, my sequence would look like this.
Pass 1: Reconnaissance orbit or offset run
Start high enough to understand wind behavior and terrain layering. Don’t rush low. Use this pass to identify:
- hidden outcrops
- rotor wash risk near vegetation edges
- signal shadow areas
- emergency hover zones
- clean return corridors
Pass 2: Oblique terrain explanation
Fly a lateral line that shows how the slope meets the shore. This is often the single most useful pass for non-pilots reviewing the site later.
Pass 3: Detail targets
Now isolate the features that matter: drainage cuts, retaining walls, damaged access paths, cliff undercuts, shoreline reinforcement, or structures partially obscured from above.
Pass 4: Context finish
End with a wider line that reconnects the detail to the broader site. That context shot often becomes the frame clients and technical teams return to first.
Data discipline matters even with a “support” aircraft
One of the smartest details in the source material is not about flying at all. It is about delivery.
The document requires JPG index graphics at 300 DPI or above, with naming aligned to the orthophoto blocks, and inspection or calibration records for equipment scanned at 300 DPI or above into PDF. That sounds administrative until you’ve worked on a multi-party project where no one can tell which image set belongs to which area or whether the hardware records are complete.
This is operationally significant because mountain coastline jobs often involve many small capture segments. If you don’t name and package your outputs cleanly, you create confusion exactly where clarity is supposed to help.
For Avata 2, I recommend mirroring that professional discipline even if your assignment is only supplementary:
- name flights by sector, altitude band, and direction
- separate stills, video, and interpreted selects
- export review sheets with clear location references
- log weather, launch point, and battery cycle count
- keep a simple record of firmware and payload settings
That level of organization is what turns “drone footage” into usable field documentation.
If you’re trying to compare setup notes with an experienced team before a shoreline project, I’d use this direct field contact: message a survey-focused drone specialist.
What to avoid with Avata 2 in mountainous coastal work
A few mistakes show up repeatedly.
Flying too low too early
Pilots get excited by terrain-following lines and commit before understanding the wind. Bad trade.
Treating cinematic movement as useful coverage
Beautiful motion can still fail to reveal the critical geometry of a site. If the shot doesn’t explain terrain, access, or condition, it may not help the project.
Ignoring temperature and environment
The reference platform in the source document is specified for -20℃ to +40℃ operation, which is a useful reminder that environmental tolerance matters in planning. Coastal mountains often bring rapid temperature shifts, moisture, and salt exposure. Even if Avata 2 is not flying under the same platform spec, your planning should assume batteries and sensors behave differently under stress.
Underestimating data volume
The source system notes 64G total storage and high-speed SD card use. On Avata 2 support missions, high-bitrate footage accumulates fast, especially when you fly multiple re-runs because changing light alters shoreline readability. Bring more storage discipline than you think you need.
The real value of Avata 2 here
Avata 2 becomes valuable on mountain coastlines when you stop asking it to be a cadastral aircraft and start using it as a terrain interpreter.
That distinction matters.
A formal survey spec may define relative boundary precision like 1/10000 on the weakest side or set RTK collection rules such as at least two observation rounds and baseline limits like 6 km or 3 km depending on starting control grade. Avata 2 is not there to replace that rigor. It is there to reveal what those numbers alone cannot show: visual condition, access logic, exposure, obstruction, and the lived shape of the land-sea edge.
For photographers, this is familiar territory. A strong image is not just attractive. It removes ambiguity. In survey support, that is exactly the point.
If you fly Avata 2 with that mindset—planned objectives, battery reserve for elevation recovery, disciplined data naming, conservative terrain spacing, and footage designed to support measurable work—you can produce material that is genuinely useful on demanding coastline projects.
That’s a far better standard than simply getting airborne.
Ready for your own Avata 2? Contact our team for expert consultation.