Avata 2 Surveying Tips for Highways in Complex Terrain
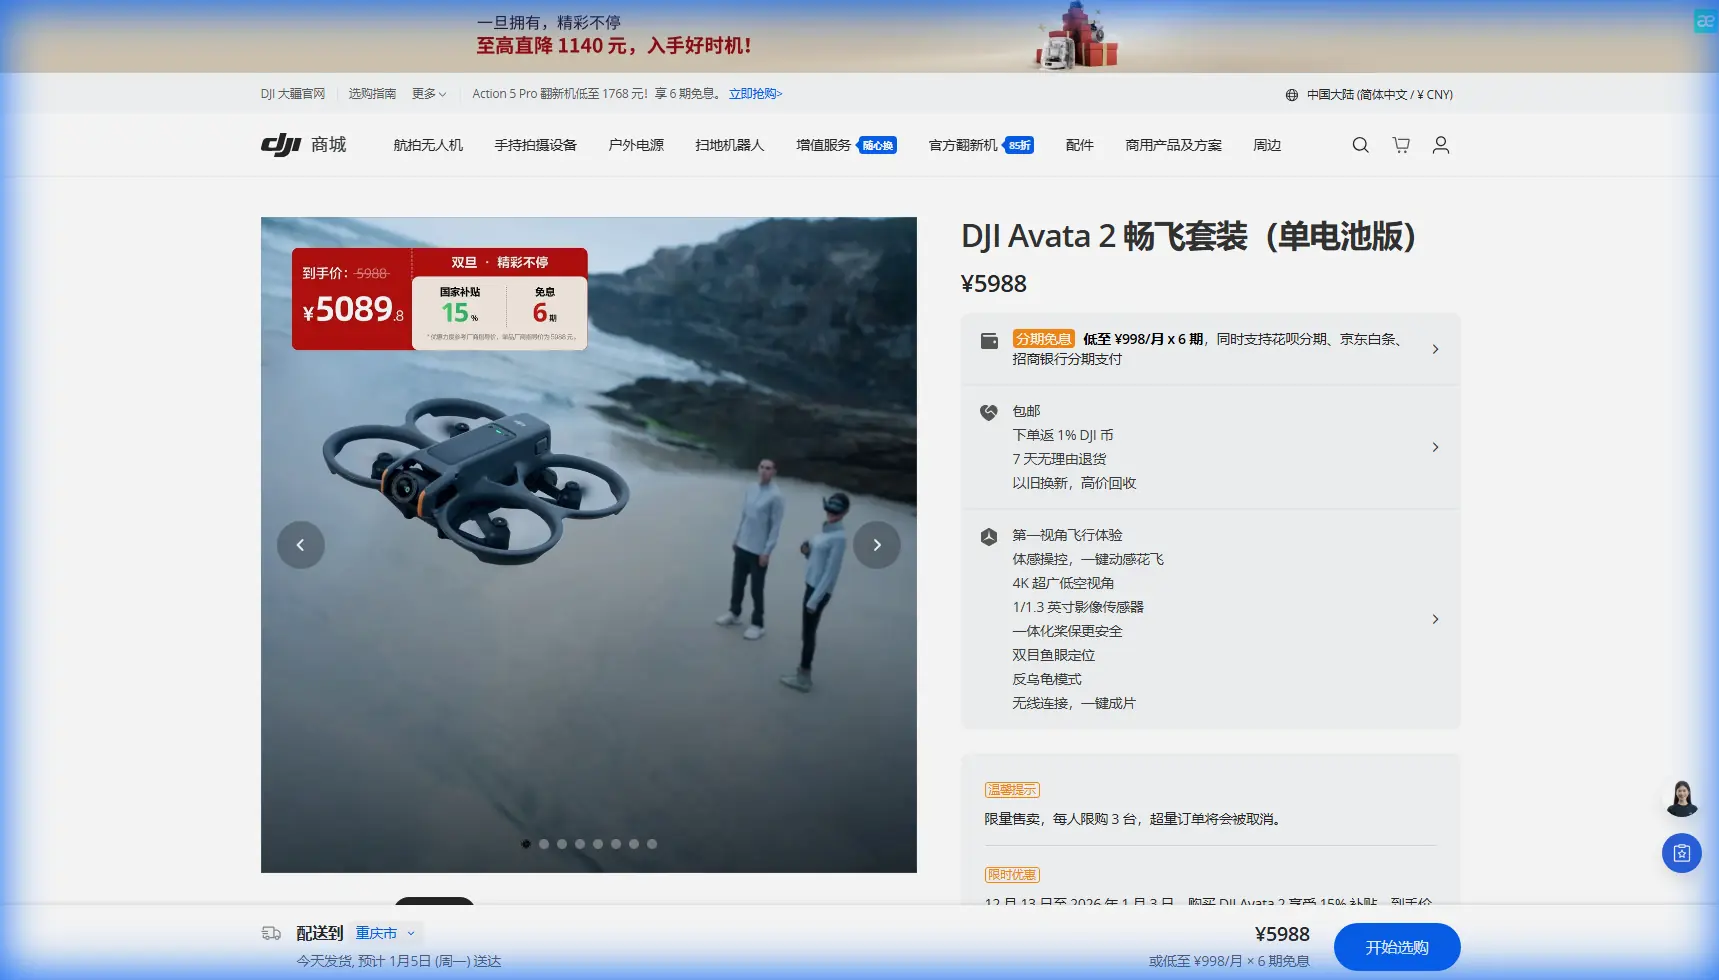
Avata 2 Surveying Tips for Highways in Complex Terrain
META: Practical Avata 2 highway surveying tips for complex terrain, with field workflow advice on pre-flight safety checks, image capture discipline, and how external mapping systems shape real-world results.
Highway surveying in rough terrain asks a drone pilot to do two jobs at once. You have to think like a camera operator and like a site technician. The Avata 2 is usually discussed through the lens of immersive flight and agile video capture, but for corridor work around roads, cut slopes, embankments, bridges, and service access paths, its real value often shows up in a different place: controlled low-altitude observation where terrain changes fast and visual context matters more than raw coverage.
That distinction matters. A wide-area mapping platform and an Avata 2 are not interchangeable. The source material behind this discussion points to a much heavier, purpose-built oblique mapping camera system, the iCamQ5, with more than 100 million total pixels, a 1.68 kg body weight without battery, and support for high-resolution stereo image acquisition across broad areas. It also references a dedicated digital image transmission system capable of 1920×1080 at 60P/50P with a 5 km link at 100 m and a ground station designed for reliable viewing in bright light. Those numbers tell you something useful before you even unpack your Avata 2: formal highway survey deliverables are still built around specialized payloads, transmission chains, and photogrammetry workflows such as Pix4Dmapper.
So where does the Avata 2 fit?
It fits in the parts of the highway workflow where agility beats mass, where terrain complexity creates blind spots, and where a pilot needs to inspect transition zones that are awkward for larger mapping aircraft. Think drainage channels beside the carriageway, retaining walls, culvert approaches, vegetation encroachment, exposed shoulders after rain, and steep cut sections where a standard nadir pass misses context. In those situations, the Avata 2 becomes a practical field instrument for targeted visual data collection, route familiarization, and supplementary close-range documentation.
Start with the safety sensors, not the battery percentage
Most pre-flight checklists begin with propellers, batteries, and GPS. Those matter, but in complex highway terrain, one neglected step deserves to move near the top: clean the vision and sensing surfaces before every flight.
If you’re working near a road corridor, the aircraft will almost certainly be exposed to fine dust, tire residue, dry soil, pollen, and moisture droplets kicked up from the surface or from passing vehicles. On an aircraft where obstacle avoidance and close-quarters confidence are central to the mission, even a light film on the sensors can compromise how reliably the drone perceives embankments, guardrails, signposts, tree branches, or bridge undersides.
This is not housekeeping for its own sake. It is operational risk control.
Use a clean microfiber cloth and inspect the lenses and sensor windows in angled light, not just straight on. Pay special attention after takeoff or landing from gravel pull-offs and after flying near wet vegetation. A clean airframe gives the Avata 2 the best chance to interpret depth correctly when you are tracking along a curved roadside edge or holding a measured hover beside a concrete wall.
On a highway job, that one-minute cleaning step is often the difference between a smooth inspection line and a flight that feels less predictable than it should.
Know the mission the Avata 2 can do well
The source document describes equipment designed for wide regional capture, multi-sensor modularity, and stereo imagery suitable for processing in software like Pix4Dmapper. That is a classic indicator of production-grade mapping architecture. The iCamQ5 even lists 1 cm to 10 cm image resolution, depending on mission setup, which is exactly the kind of performance corridor mapping teams care about when building measurable models.
The Avata 2 should not be forced into pretending it is that system.
Instead, use it where it is strongest:
- close visual inspection of terrain transitions
- low-altitude passes along difficult roadside geometry
- capturing contextual video for engineers and site managers
- documenting hazards around access routes
- checking line of sight before deploying larger survey drones
- collecting reference imagery that complements a photogrammetry mission
This mindset leads to better data and fewer bad expectations.
If your team is running a formal corridor mapping campaign with a specialized payload and external processing chain, the Avata 2 can work as the nimble scout. It can reveal where slope failures are forming, where vegetation blocks view of drainage outlets, or where bridge approaches deserve extra image density from the main mapping platform later.
Build your route around terrain, not around the road centerline
Newer pilots often plan a highway survey mentally as a straight ribbon. Real corridors are never that simple. In complex terrain, the road is only one part of the geometry. The actual risk lives in the edges: the side slopes, rock cuts, utility crossings, water runoff paths, and service roads tucked below the grade.
With the Avata 2, break the mission into short, intentional segments:
1. Access and launch zone
Choose a takeoff point that avoids dust blast and gives immediate separation from moving vehicles. A shoulder may look convenient, but gravel and traffic turbulence can make it a poor choice. A stable lay-by or service pull-in is better.
2. Terrain transition scan
Before committing to your main route, do a brief hover and yaw scan. Look for poles, wires, overhanging branches, slope breaks, and reflective surfaces that can complicate visual perception.
3. Low-altitude context pass
Fly a conservative line parallel to the section you need to inspect. This gives you a clean establishing record and helps you judge whether the area supports a tighter second pass.
4. Detail collection
This is where Avata 2 shines. Use measured movement and keep your speed disciplined. If you are documenting erosion, drainage defects, shoulder cracking, or retaining structures, hold each angle long enough that an engineer can actually use the footage later.
5. Exit path
Always define your recovery route before the battery becomes the decision-maker.
That rhythm is especially useful in mountainous or cut-and-fill highway sections where a road bends but the terrain keeps changing faster than the map suggests.
Use the video system intelligently, even if your workflow is lightweight
One of the most revealing details in the source material is the emphasis on the external digital transmission chain. The referenced iGCS-1 system uses COFDM modulation, supports 1080P transmission, and includes a ground receiver with dual-antenna redundant reception. The practical significance is simple: when teams care about mission-critical viewing in the field, they invest in link stability, daylight visibility, and dependable monitoring.
That is a lesson Avata 2 operators can borrow even without duplicating the exact hardware.
For highway surveying, your live view is not just for flying. It is part of your quality control loop. If your monitor setup is washed out in bright sun, if your observer cannot see the feed clearly, or if your field team is reviewing footage only after the aircraft lands, you lose the chance to correct gaps while still on site.
The source data also lists an end-to-end delay of 500 ms on the ground receiving side as low latency for that system. For close inspection work around terrain, link responsiveness affects confidence and shot precision. While your Avata 2 workflow is different from a dedicated industrial transmission package, the same principle applies: optimize visibility and responsiveness in the field so you can make decisions while the drone is in the air, not back at the office.
If you need help tailoring a field workflow for corridor inspection, this is a good point to message a UAV workflow specialist on WhatsApp.
Don’t let “cinematic” features distract you from survey discipline
The Avata 2 inherits a lot of attention because it makes flight feel expressive. Features like QuickShots, Hyperlapse, and a log profile such as D-Log can absolutely be useful on infrastructure projects, but only when used with intent.
Here is how they fit without compromising survey discipline:
D-Log for difficult lighting
Highway corridors often mix bright pavement, dark culverts, tree shadows, and reflective surfaces. A flatter profile can help preserve detail in these mixed-contrast scenes. That matters when your footage may be reviewed for crack context, material transitions, or slope moisture patterns. A cleaner grading workflow later is not just aesthetic. It can improve interpretability.
Hyperlapse for progress context
Not for measurement, and not for defect assessment. But useful for showing change over time across a broad site or for presenting access conditions to project stakeholders. Keep it separate from your technical evidence set.
QuickShots and automated moves
Use sparingly. They can create useful overviews at interchanges, bridge approaches, or cut sections, but only after you have captured your required manual inspection footage. Automation is supplemental, not primary.
ActiveTrack and subject tracking
In a pure survey setting, this is rarely the star of the mission. Still, it can be useful when documenting moving maintenance equipment within a controlled civilian work zone or showing convoy access during site logistics reviews. The key is restraint. The mission is terrain understanding, not spectacle.
Capture for interpretation, not just for viewing
A lot of drone footage looks good and says very little. Highway teams need the opposite.
When filming a slope, don’t just fly past it. Make one pass that establishes the slope relative to the roadway, then another that isolates the suspected issue: drainage channel undercutting, loose rock, guardrail footing exposure, or vegetation growth blocking runoff. If there is a culvert, capture both the approach and the outlet condition. If there is a retaining wall, include the base, face, and relation to the shoulder.
That “context plus detail” pairing makes your footage usable.
This is also where the contrast with the source equipment becomes instructive. The iCamQ5’s modular industrial design and support for multiple sensors underline a core truth of survey operations: good decisions come from structured data capture, not random flying. Even with a smaller platform like the Avata 2, the operator should think in systems. Every clip should answer a field question.
Weather tolerance is not weather immunity
The source document notes that the iCamQ5 can handle light rain. That is a field-oriented detail with real meaning. Pipeline and corridor work often happens on days that are less than ideal, and industrial equipment is selected with environmental tolerance in mind.
That does not mean you should normalize marginal conditions with the Avata 2.
For highway terrain, moisture changes everything: road reflectivity, sensor clarity, vegetation movement, and visual contrast on slopes. If conditions are damp enough that your obstacle sensing surfaces need repeated wiping, or visibility changes minute to minute, shorten the mission and narrow the objective. Get the critical clips, then land. Clean footage in stable conditions is more valuable than an ambitious flight in bad air.
Pair Avata 2 footage with a larger survey pipeline
The source explicitly mentions Pix4Dmapper as a processing platform for drone and aerial imagery. That tells us the broader operating environment here is not just about flying. It is about turning field capture into models and decisions.
Avata 2 operators working on highways should think the same way, even if the drone is not the primary mapping aircraft.
Your footage can support:
- mission planning for a later photogrammetry run
- visual validation of anomalies in an orthomosaic or 3D model
- before-and-after site documentation
- communication between field crews and design teams
- targeted inspection records for hard-to-reach sections
In other words, the Avata 2 can make the main survey smarter.
That is the most productive way to place it inside a highway workflow shaped by heavier imaging systems, stronger transmission packages, and software-led data processing. It does not replace those pieces. It sharpens them.
A practical field routine for Avata 2 highway work
Here’s a compact sequence that works well on real sites:
- Clean the obstacle sensing and camera surfaces.
- Confirm takeoff area is free of loose dust and traffic interference.
- Define one narrow mission objective per flight.
- Fly a short orientation hover and terrain scan.
- Capture one context pass and one detail pass.
- Review footage on-site in shade or on a visible display.
- Re-fly immediately if a key slope, outlet, or wall section was missed.
- Log segment location and issue type before moving to the next area.
Simple beats elaborate when the terrain is changing and the day is moving fast.
Highway surveying in complex terrain is rarely won by the aircraft with the loudest spec sheet. It is won by the crew that knows what to capture, what to ignore, and how to keep the flight clean, deliberate, and reviewable. The Avata 2 earns its place there when it is treated as a precision visual tool, not as a substitute for a dedicated corridor mapping rig.
Ready for your own Avata 2? Contact our team for expert consultation.